> ## Documentation Index
> Fetch the complete documentation index at: https://cybernauts.mintlify.site/llms.txt
> Use this file to discover all available pages before exploring further.
# Building Web Bot Workflows
> Design conversational intent routing for your website's live chat automation.
Building a workflow for your Web Bot follows the same core visual principles as our email builder, but it is entirely optimized for real-time, interactive chat. There are no wait times or delayed follow-ups; instead, the bot reacts instantly based on the visitor's messages.
## 1. Accessing the Web Bot Builder
To start building, navigate to your campaign and locate your Web Bot automation card.
Just as we discussed in the [Building Email Workflows](./email) guide, you can click the **Three Dots (Action Menu)** or **Edit Icon** on the card to view, edit, and update your flows. Click edit to open the visual canvas.
## 2. Understanding the Chat Workflow Graph
When you open the Web Bot canvas, you will see a flow designed for instant categorization.
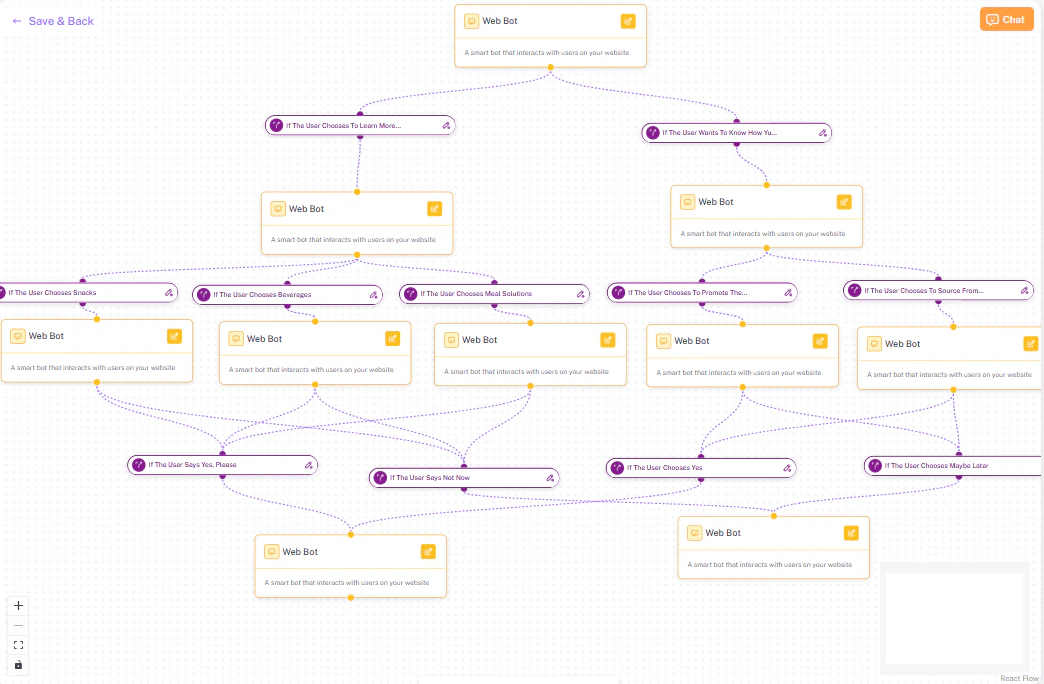
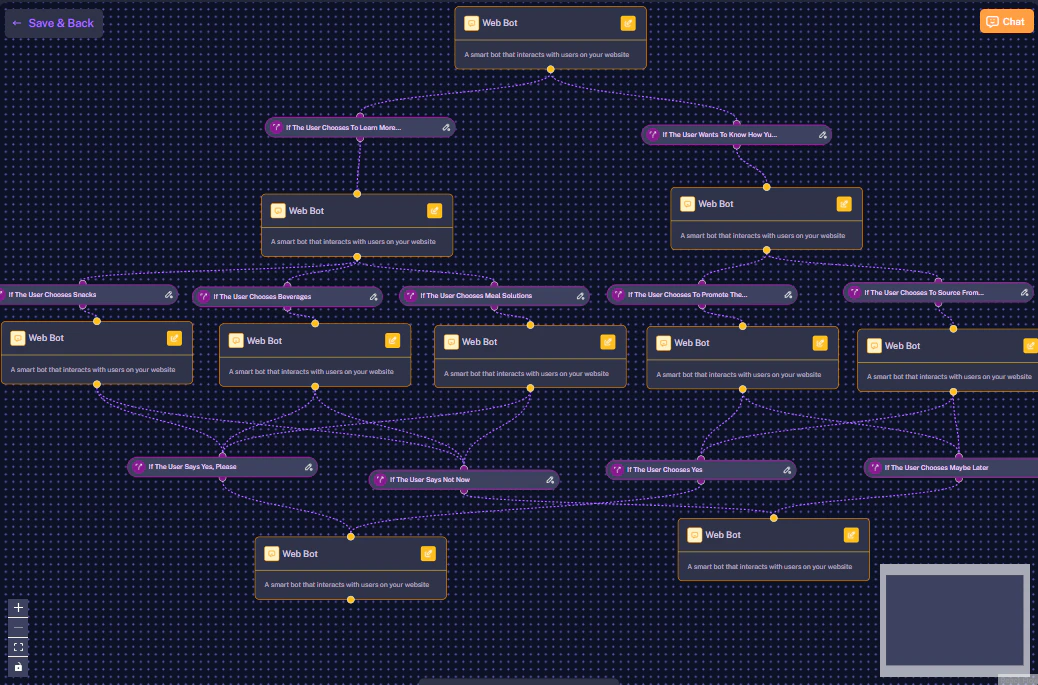 As shown in the graph above, the flow starts with an **Initial Chat** node where you configure your agent's base instructions. From there, the workflow branches out into different paths depending on what the visitor types.
For example, the AI analyzes the visitor's first message and routes them accordingly:
* **If intent is `Sales Inquiries`**, the bot shifts to a **Capture Email** node to secure the lead's contact info.
* **If intent is `Support`**, the bot shifts to an **Ask Issue** node to gather troubleshooting details.
* **If intent is `General Queries`**, the bot shifts to a **Provide Information** node to answer basic FAQs.
## 3. Configuring Chat Nodes (Intents Only)
To configure these specific rules, click the edit icon on any chat node. The **"Configure Chat"** sidebar will slide open.
**Key Difference:** You will notice this configuration screen is much simpler than the Email or WhatsApp setup. Because the Web Bot is live, there are no delay settings or complex variable dropdowns. This sidebar focuses entirely on **Intents**.
As shown in the graph above, the flow starts with an **Initial Chat** node where you configure your agent's base instructions. From there, the workflow branches out into different paths depending on what the visitor types.
For example, the AI analyzes the visitor's first message and routes them accordingly:
* **If intent is `Sales Inquiries`**, the bot shifts to a **Capture Email** node to secure the lead's contact info.
* **If intent is `Support`**, the bot shifts to an **Ask Issue** node to gather troubleshooting details.
* **If intent is `General Queries`**, the bot shifts to a **Provide Information** node to answer basic FAQs.
## 3. Configuring Chat Nodes (Intents Only)
To configure these specific rules, click the edit icon on any chat node. The **"Configure Chat"** sidebar will slide open.
**Key Difference:** You will notice this configuration screen is much simpler than the Email or WhatsApp setup. Because the Web Bot is live, there are no delay settings or complex variable dropdowns. This sidebar focuses entirely on **Intents**.
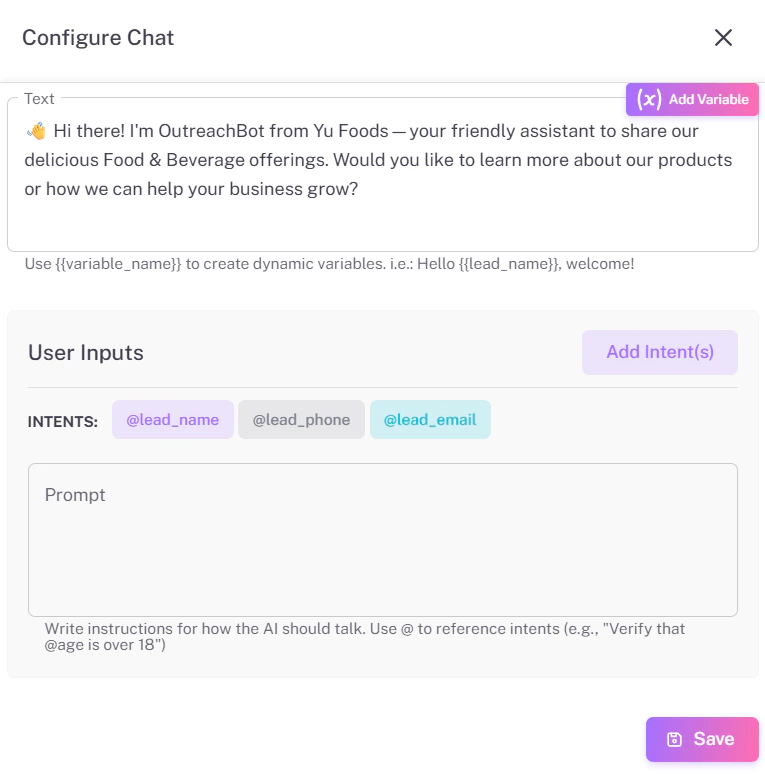
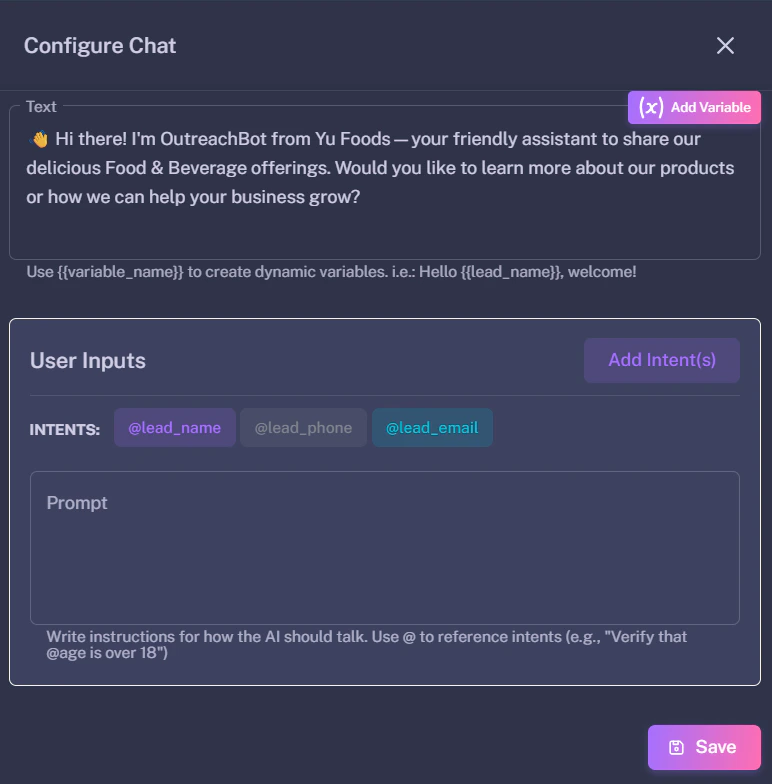 Here, you dictate exactly which intents (like *Sales*, *Support*, or *General*) the AI should listen for. By defining these intents, you are creating the branches that build the graph we saw in the previous step.
*(If you need a refresher on how to create and manage these AI categories, the logic is identical to the [Intent Branches](./email#3-handling-replies-intent-branches) detailed in our email documentation).*
## 4. Saving Your Web Bot Flow
When your conversational branches are complete:
1. First, make sure you save any specific node you are editing by clicking the **Save** button at the bottom of the "Configure Chat" sidebar.
2. Once your entire visual workflow looks perfect, navigate to the top right of the screen and click **Save & Back**.
Clicking **Save & Back** will securely save your live chat automation and return you to your main campaign dashboard.
Here, you dictate exactly which intents (like *Sales*, *Support*, or *General*) the AI should listen for. By defining these intents, you are creating the branches that build the graph we saw in the previous step.
*(If you need a refresher on how to create and manage these AI categories, the logic is identical to the [Intent Branches](./email#3-handling-replies-intent-branches) detailed in our email documentation).*
## 4. Saving Your Web Bot Flow
When your conversational branches are complete:
1. First, make sure you save any specific node you are editing by clicking the **Save** button at the bottom of the "Configure Chat" sidebar.
2. Once your entire visual workflow looks perfect, navigate to the top right of the screen and click **Save & Back**.
Clicking **Save & Back** will securely save your live chat automation and return you to your main campaign dashboard.