> ## Documentation Index
> Fetch the complete documentation index at: https://cybernauts.mintlify.site/llms.txt
> Use this file to discover all available pages before exploring further.
# Visual Canvas Builder
> Edit, visualize, and optimize your automation flows using the drag-and-drop canvas.
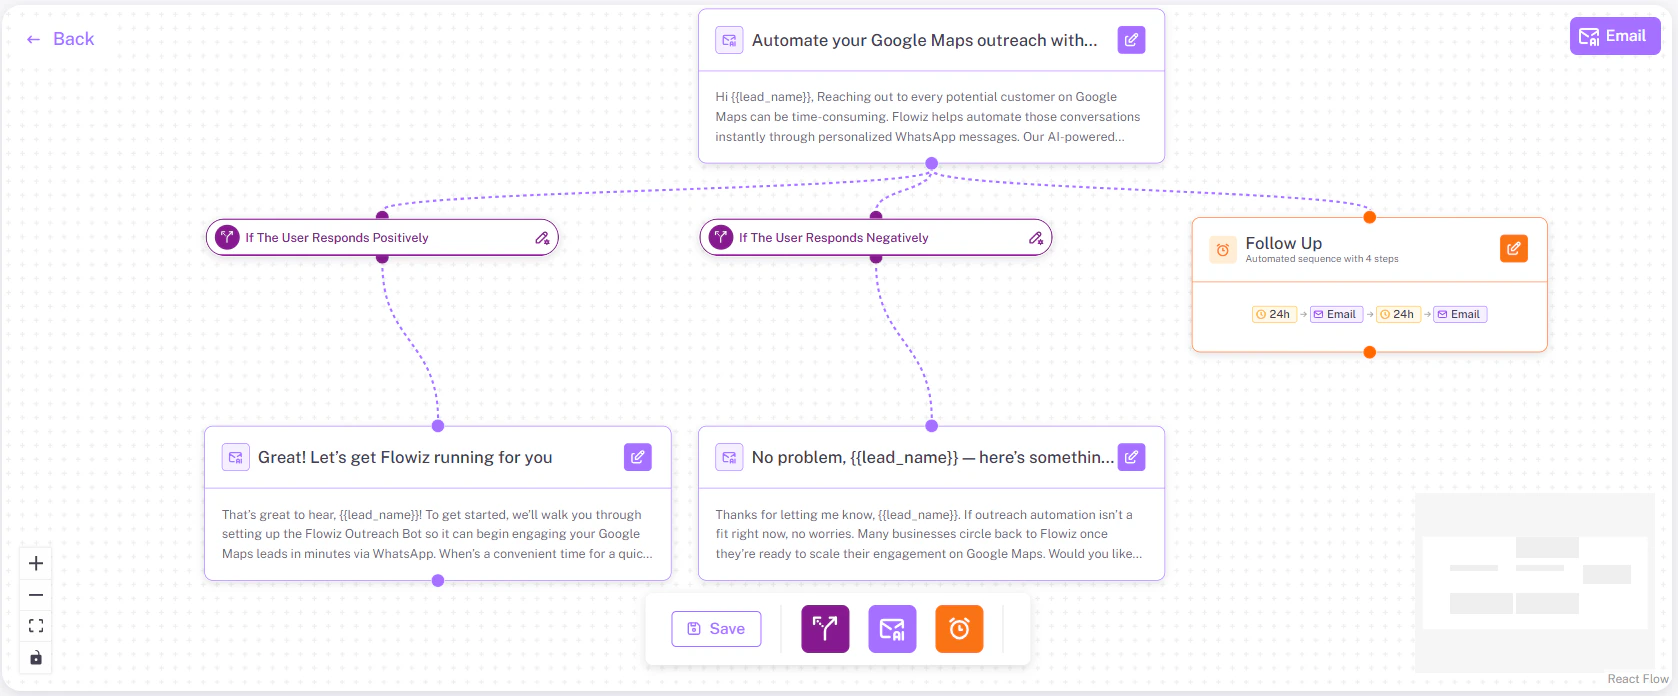
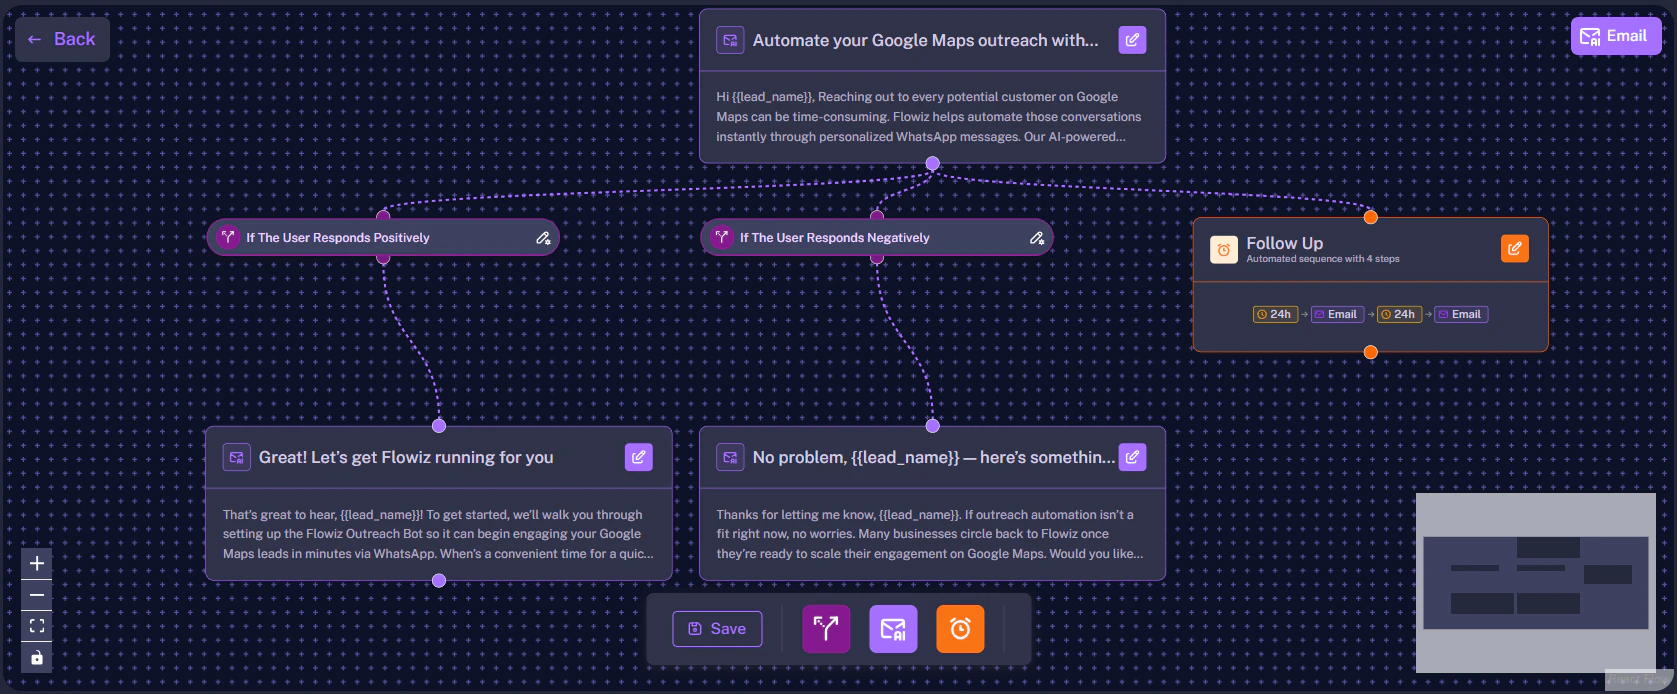
Once a Flow is generated, it opens in the **Visual Canvas**. This is your workspace for fine-tuning the campaign.
## The Interface
The canvas represents your campaign timeline from left to right.
* **Nodes:** The boxes representing actions (e.g., "Send Email").
* **Edges:** The lines connecting the nodes, representing the path of the lead.
{/* Save as 'full-canvas-view.png' */}
 ## Understanding Nodes
There are four main types of nodes you will see on the canvas:
The starting point. Usually "New Lead Added" or "Audience Upload".
Performs a task. Examples: **Send Email**, **WhatsApp Message**.
Diamond-shaped boxes that make decisions (e.g., "Did they reply?").
Pauses the flow. Example: "Wait 24 Hours".
## Editing a Flow
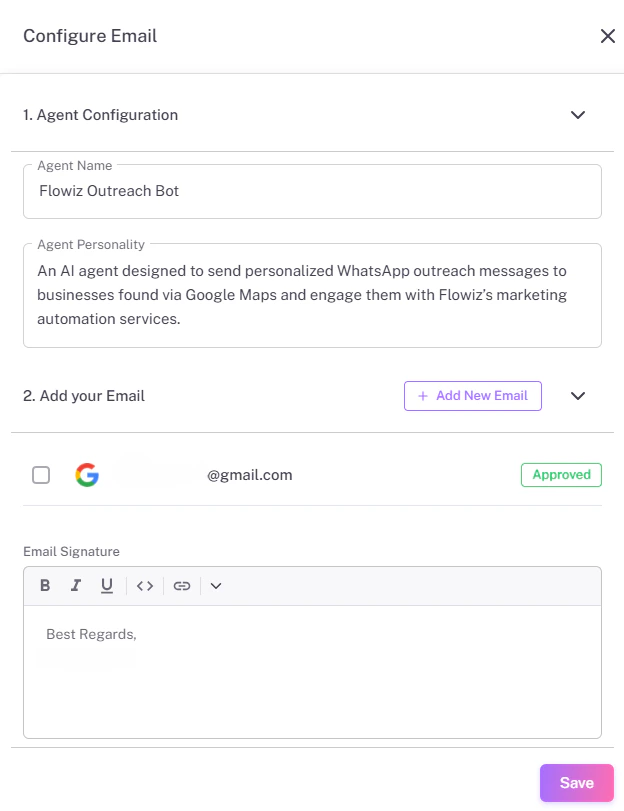
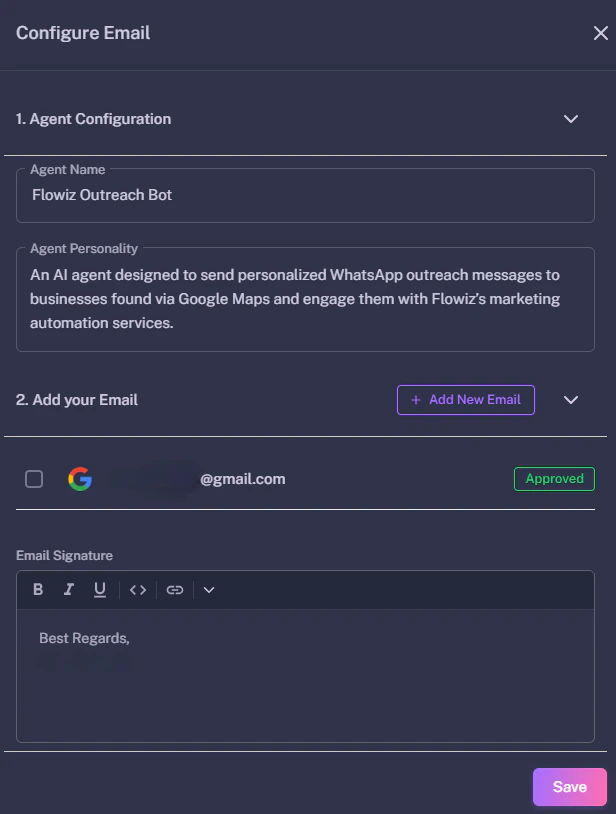
To change settings, simply **click on any node**. A configuration panel will slide out from the right side of the screen.
{/* Save as 'node-settings-panel.png' */}
## Understanding Nodes
There are four main types of nodes you will see on the canvas:
The starting point. Usually "New Lead Added" or "Audience Upload".
Performs a task. Examples: **Send Email**, **WhatsApp Message**.
Diamond-shaped boxes that make decisions (e.g., "Did they reply?").
Pauses the flow. Example: "Wait 24 Hours".
## Editing a Flow
To change settings, simply **click on any node**. A configuration panel will slide out from the right side of the screen.
{/* Save as 'node-settings-panel.png' */}
 ### Common Actions
* **Edit Content:** Click an Email node to change the Subject Line or Body text.
* **Delete Step:** Click the trash icon on a node to remove it.
* **Reconnect:** Click and drag from the circle on one node to the circle on another to create a new path.
### Common Actions
* **Edit Content:** Click an Email node to change the Subject Line or Body text.
* **Delete Step:** Click the trash icon on a node to remove it.
* **Reconnect:** Click and drag from the circle on one node to the circle on another to create a new path.